Bambu Lab
Bambu Lab 3D 프린트 진행 상황을 iPhone 잠금 화면의 실시간 현황으로 추적하세요 - 레이어 수, 노즐 온도, ETA를 로컬 MQTT로 확인합니다.
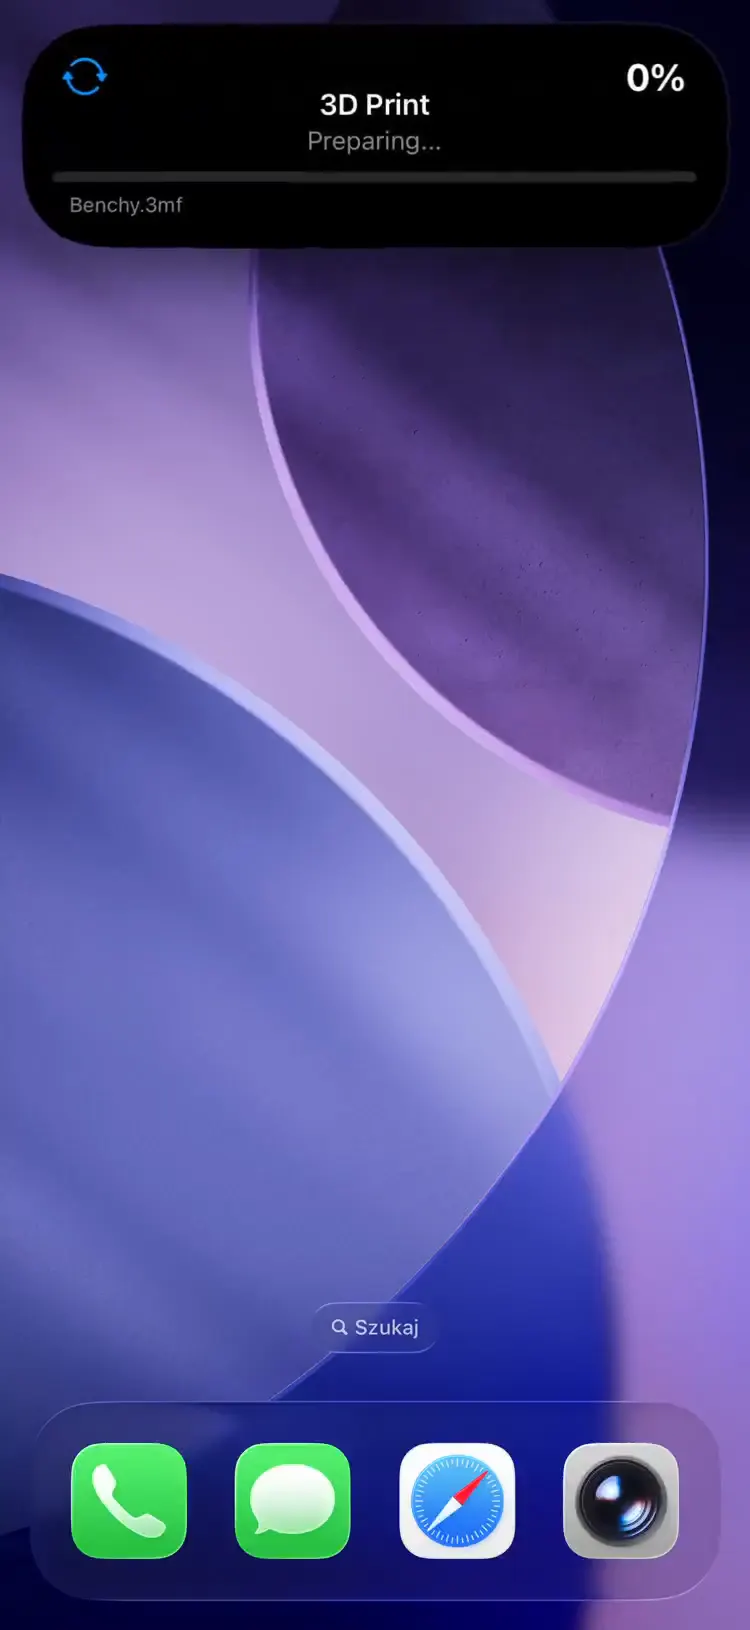
How It Works
The pushward-bambulab bridge connects directly to your printer over local MQTT (no cloud dependency) and streams print progress to PushWard.
- MQTT connection -- connects to printer on port 8883 using TLS with the printer's access code
- State tracking -- subscribes to printer reports and merges delta updates into a full state
- Progress updates -- sends layer count, nozzle temperature, and progress bar to PushWard every 5s (configurable)
- Lifecycle management -- automatically starts tracking when a print begins and ends when it finishes, fails, or is cancelled
Setup
1. Enable Developer Mode
On your Bambu Lab printer, enable LAN Only mode, then turn on Developer Mode (Settings > LAN Only > Developer Mode). Developer Mode is the setting that opens the local MQTT channel this bridge connects to -- LAN Only mode on its own may not.
2. Get the Access Code
Read the 8-character access code from the printer's screen. The exact location depends on the model: P1P/P1S under Settings > WLAN; X1/X1 Carbon/X1E/H2 under the General tab in Settings; A1/A1 mini on the LAN Only Mode screen. If no access code is shown, enable LAN Only mode first.
3. Get Your Integration Key
PushWard 앱의 설정 → 연동 키에 있는 기본 연동 키를 사용하거나, 이 연동을 위해 범위가 제한된 키를 생성하세요.
4. Deploy the Bridge
services:
  pushward-bambulab:
    image: ghcr.io/mac-lucky/pushward-bambulab:latest
    environment:
      PUSHWARD_URL: https://api.pushward.app
      PUSHWARD_API_KEY: hlk_YOUR_INTEGRATION_KEY
      PUSHWARD_BAMBULAB_HOST: 192.168.1.100
      PUSHWARD_BAMBULAB_ACCESS_CODE: 12345678
      PUSHWARD_BAMBULAB_SERIAL: 01S00A123456789
restart: unless-stoppedNo ports need to be exposed -- the bridge connects outbound to both the printer (MQTT) and PushWard API.
Configuration
| 환경 변수 | 설명 | 기본값 |
|---|---|---|
PUSHWARD_URL | PushWard server URL | -- |
PUSHWARD_API_KEY | Integration key (hlk_ prefix) | -- |
PUSHWARD_BAMBULAB_HOST | Printer IP address or hostname | -- |
PUSHWARD_BAMBULAB_ACCESS_CODE | 8-character access code from the printer screen (P1P/P1S: Settings > WLAN; X1/H2: General tab; A1/A1 mini: LAN Only Mode screen) | -- |
PUSHWARD_BAMBULAB_SERIAL | Printer serial number (15 characters) | -- |
PUSHWARD_BAMBULAB_CERT_FINGERPRINT | Optional SHA-256 fingerprint of the printer cert (hex, with or without : separators). Pins TLS to that exact cert. When unset, the bridge auto-pins on first connect (TOFU). | -- |
PUSHWARD_POLL_INTERVAL | How often to send progress updates | 5s |
PUSHWARD_PRIORITY | Activity priority (0-10) | 1 |
PUSHWARD_CLEANUP_DELAY | How long the activity stays after ending | 15m |
PUSHWARD_STALE_TIMEOUT | Ends activity if no updates received | 60m |
To pin explicitly up front (recommended for hardened setups), extract the printer's SHA-256
fingerprint from a trusted network and set PUSHWARD_BAMBULAB_CERT_FINGERPRINT:
openssl s_client -connect <printer-ip>:8883 -servername <printer-ip> </dev/null \
  | openssl x509 -fingerprint -sha256 -noout
Run this on a network you trust — TOFU (auto-pin on first connect) and ad-hoc fingerprint
extraction are both only as trustworthy as the network at extraction time. openssl will print "verify error" lines for the printer's self-signed cert; those are expected and the
fingerprint output below is still valid. The fingerprint changes any time the printer regenerates
its cert (e.g. after a factory reset).
Print States
| Printer State | Live Activity | Color |
|---|---|---|
PREPARE | Preparing... | Blue |
RUNNING | Layer N/M | Blue |
PAUSE | Paused | Orange |
FINISH | Complete | Green |
FAILED | Failed | Red |
The bridge automatically resumes tracking if it starts while a print is already in progress.
Activity Slug Format
Uses the format bambu-<serial> (serial lowercased), e.g. bambu-01s00a123456789. One activity per printer.